The workflow structure
A workflow is a collection of digital workers linked together to perform tasks in an automated fashion. Workflows can incorporate portfolios, datastores, report templates, API, and email distributions, as well as standard and custom digital workers. Workflows also can perform conditional flows and data exploration.
When you log into the Everysk Platform you will be automatically redirected to the workflows page. Here you can see all existing workflows inside the current workspace.
mceclip0.png
When you click inside a workflow card, you will be redirected to a page where you can edit your workflow and manage the workers comprising it. This environment is called Designer.
A Designer has the following structure:
Header:The header contains the workflow's name and a button that allows the workflow's basic information to be edited

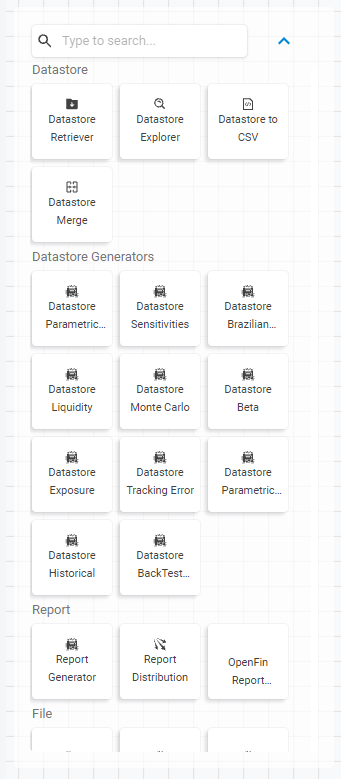
Workers Library: On this library you will find all the available workers to your account. By dragging and dropping these workers to the Designer canvas, you can assemble automations without any code
Differently than other automation companies, Everysk's library of workers is tailored to the financial industry
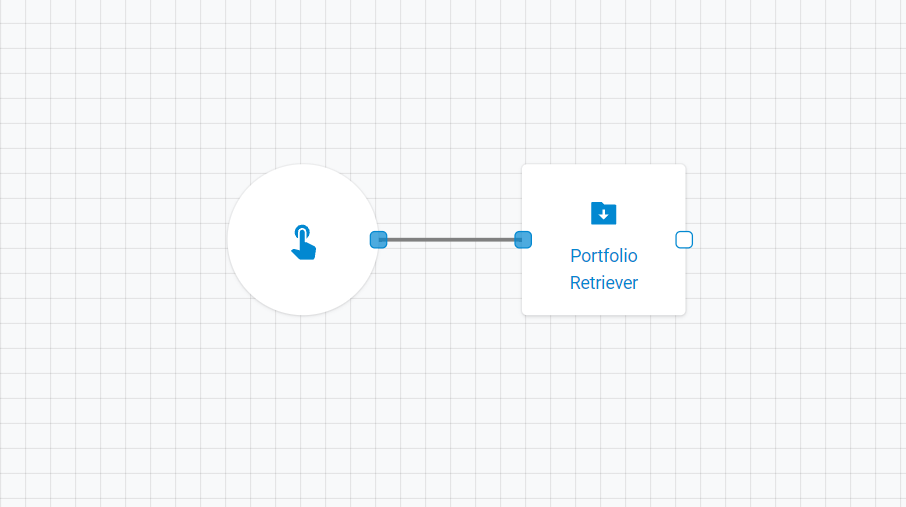
Workflow: Here you can place the workers and connect them to each other like diagrams creating the workflow itself. To learn more about workers, click here.
Visualization Tools:Tools on the top of the grid to position the workers, increase or decrease the zoom or delete a worker. To enable the delete option you must first select a worker by clicking on it

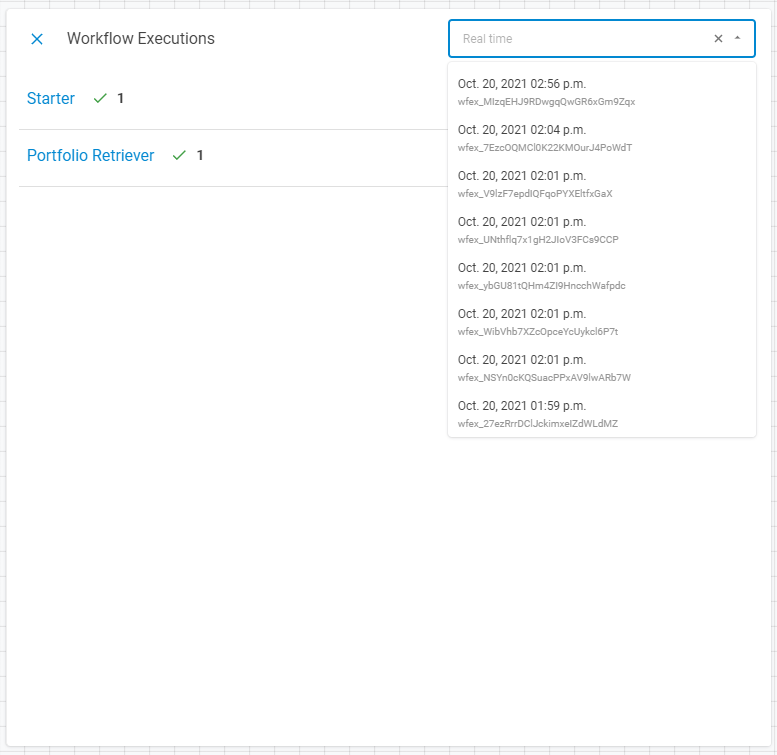
Execution Tools:Tools on the bottom that handle the execution of the workflow. The Runbutton executes the workflow. The Executionsbutton allows the user to see all recent executions of the workflow.

When the Executionbutton is selected a section will be popped up on the right showing the most recent execution. You can select older executions selecting it on the top right select button.
Save/Create:On the bottom right you will find the save/create buttons. The first time you design a new workflow you must create it by clicking on the create button. Then, each change you make to the workflow you must click on the savebutton to save the changes. Otherwise you can just select the cancelbutton to cancel the current change or creation.